Completed Farmhouse Table
If you know me very well, you know that I have a long list of projects on my "to-do list" and it seems as if each time I visit Pinterest my list gets longer! One of the projects that has been on my list for a long time is a Farmhouse table. Upon completing our kitchen remodel this summer, building a Farmhouse table was moved to the top of my list, as the table we had was simply not large enough for our family of six. I knew that building a quality table from scratch would take quite some time, so I decided to dedicate the week after Christmas and before I returned to work in January on the project.
Although I have completed numerous wood working projects, this was my first attempt at large furniture construction. To prepare for the project, I studied numerous Farmhouse table plans and could not find one plan with all of the design aspects I wanted. In addition, because our kitchen is unique in size, a traditional size table would not fit in our space. So, I decided to create my own plan that utilized my favorite aspects of the following plans:
- Ana White Fancy X Farmhouse Table - I really liked the way the legs on this table were designed. I liked the X design and thought that it added a lot of character to the table.
- Ana White Triple Pedestal Farmhouse Table - With the exception of the curved pieces on the legs, I utilized this plan to construct the legs for our table. I also liked the 2 x 6 that ran through the middle of the legs and connected the two pedestals. I decided that our space was not large enough for three pedestals, so I opted to build two instead.
- Farmhouse Table - This table provided the inspiration for completing the top of the table. I liked the look of the long planks down the middle of the table and the planks on each end of the table.
When Toby realized that I was serious about building a Farmhouse table over Christmas break, he suggested that I finish the top of the table with juniper boards. My dad has recently completed his game room with juniper, and it looks fantastic. Juniper has so much character and I knew it would give our table a very unique finish. Luckily, my dad had some boards remaining from his project and was nice enough to help me cut the boards into planks. Then, the fun began . . .
 |
| Cutting and arranging the juniper planks. |
 |
| Because the juniper boards were slightly warped, I attached them to a piece of plywood to reinforce and straighten them. |
 |
| I attached the planks to the plywood with wood glue then reinforced them with screws from the bottom. |
 |
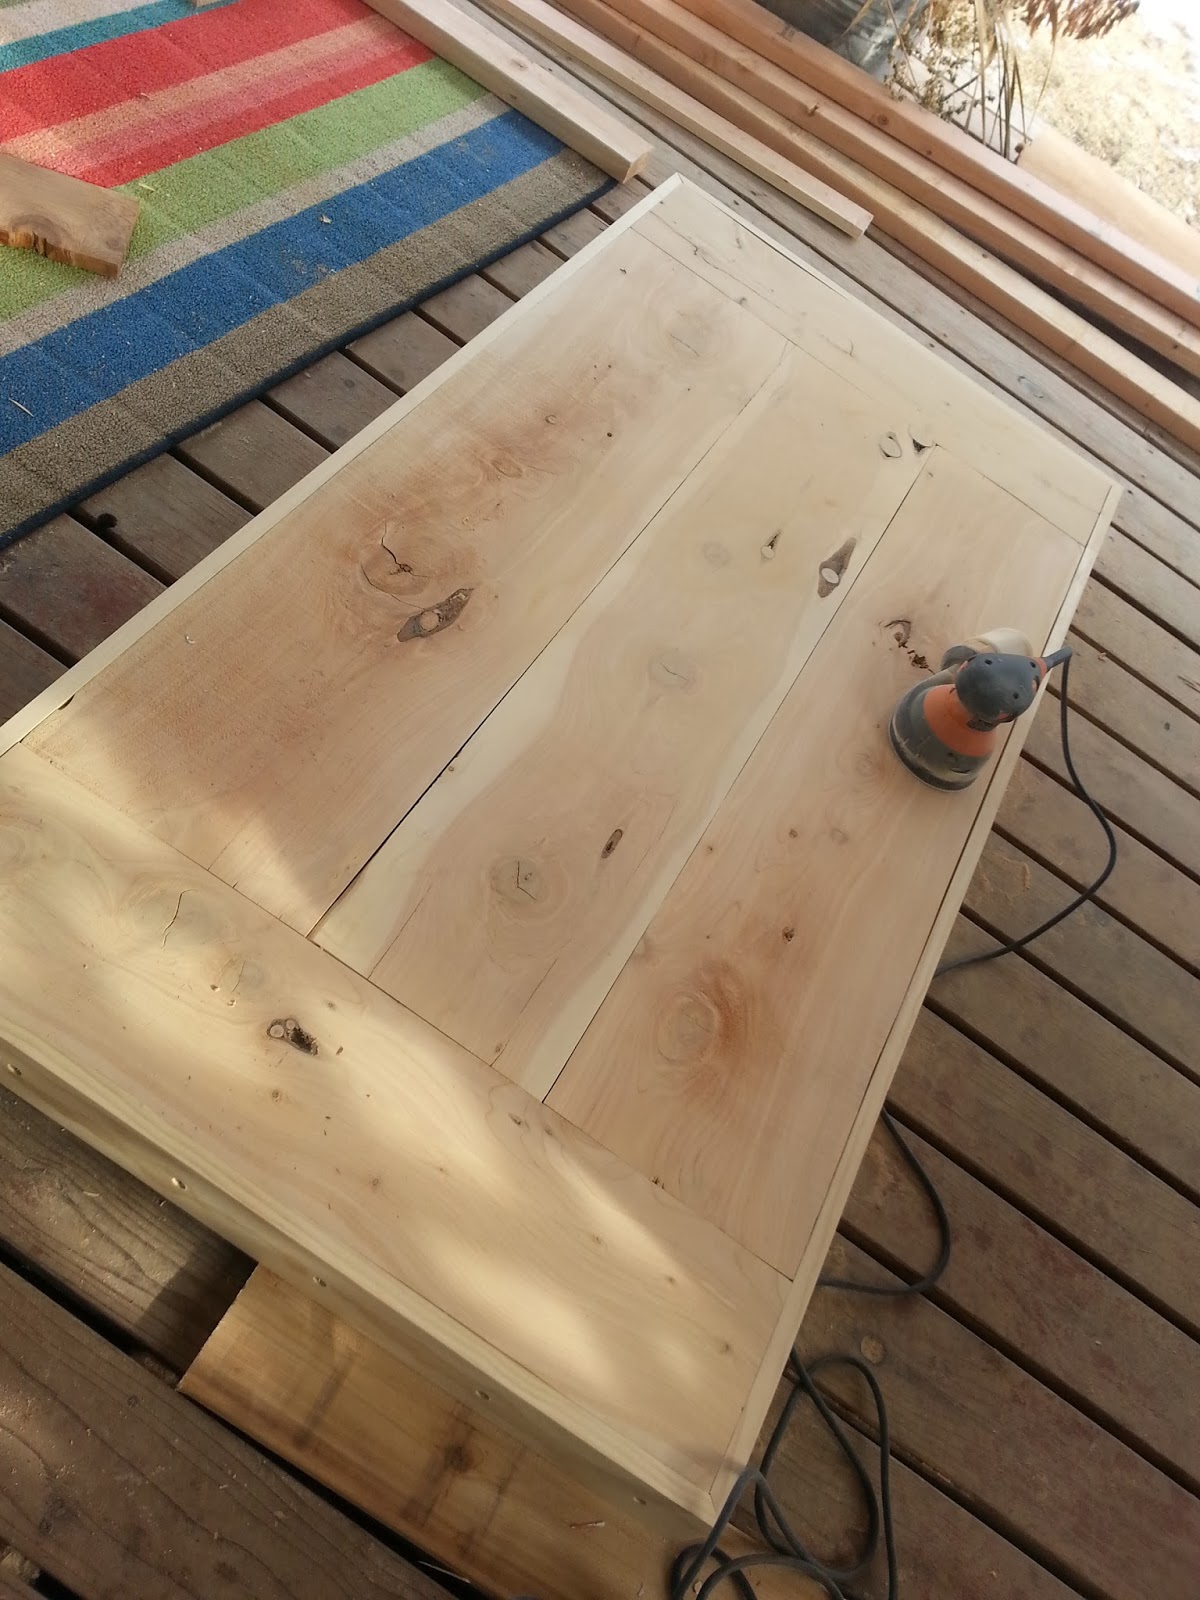
| I added a 1 x 4 casing around the edge of the table to give it a more finished look. Then, sanding, sanding, and more sanding! |
 |
| This is the sanded table top sitting on top of our old table. |
 |
| Plans from Ana White Triple Pedestal Farmhouse Table |
 |
| My version of the table pedestals. |
 |
| Assembled, unstained table. |
I wanted the Farmhouse table to have a dark finish, so I stained the wood using Minwax Dark Walnut. I applied one coat to the pedestals and two coats to the table top. To protect the table, I applied five coats of Minwax Polycrylic in Clear Gloss. I was also extremely excited to complete the look with three Mason Dining Chairs from Pier 1 in Ivory. I love the contrast between the light chairs and dark table.
Below are some of my favorite knots and imperfections in the table top.
I am so happy with the way our Farmhouse table turned out. I can honestly say that I would not make any changes if I were to build the table again. Although Toby gives me a hard time about my "projects," I could not have completed this Farmhouse table without him. The table top is extremely heavy, and he did not complain each time I asked him to help me carry it outside for more sanding. There were some steps that I could simply not complete alone, such as assembling the pedestals. Again, Toby was so helpful in completing this process.
This was a huge project, and I am thrilled that it turned out as planned. I am also very happy that we have a table that all six of us can sit around without being crowded!


Way to go! I LOVE it! So glad you have a helpful husband, Brandon would have moaned and groaned and then made me call a neighbor to help!
ReplyDelete